
How To Cross Rivers Safely On Moorland Hikes
Read the river before you commit
Moorland water behaves nothing like the gentle brook you may have stepped over on the way up. A Scottish burn, a Pennine beck or a Welsh nant can rise within an hour of heavy rain on high ground, turning from ankle-deep clarity into a brown, boulder-rolling torrent. Stop well back from the edge — twenty metres or so — and watch for a full minute before you go anywhere near it.
Look at the colour, the noise and what the water is carrying. Clear and quiet is promising. Peat-stained and loud is not. If you can hear stones knocking together on the riverbed, the flow has enough power to move you, and it will move you faster than you expect.
- Find the widest, shallowest line. Rivers braid and spread across flat moorland ground, and the crossing is nearly always easier where the water slows and shallows than where it narrows and accelerates.
- Never cross immediately above a waterfall, a gorge or a rapid you cannot see the bed of. A slip there is not a soaking, it is an emergency.
- Check the far bank before you start. There is no point reaching the other side only to meet a vertical peat hag with no way up.
- Think about the return. If you are crossing to gain a summit, you will cross back later, quite possibly when the river is higher.
Unbuckle before you step in
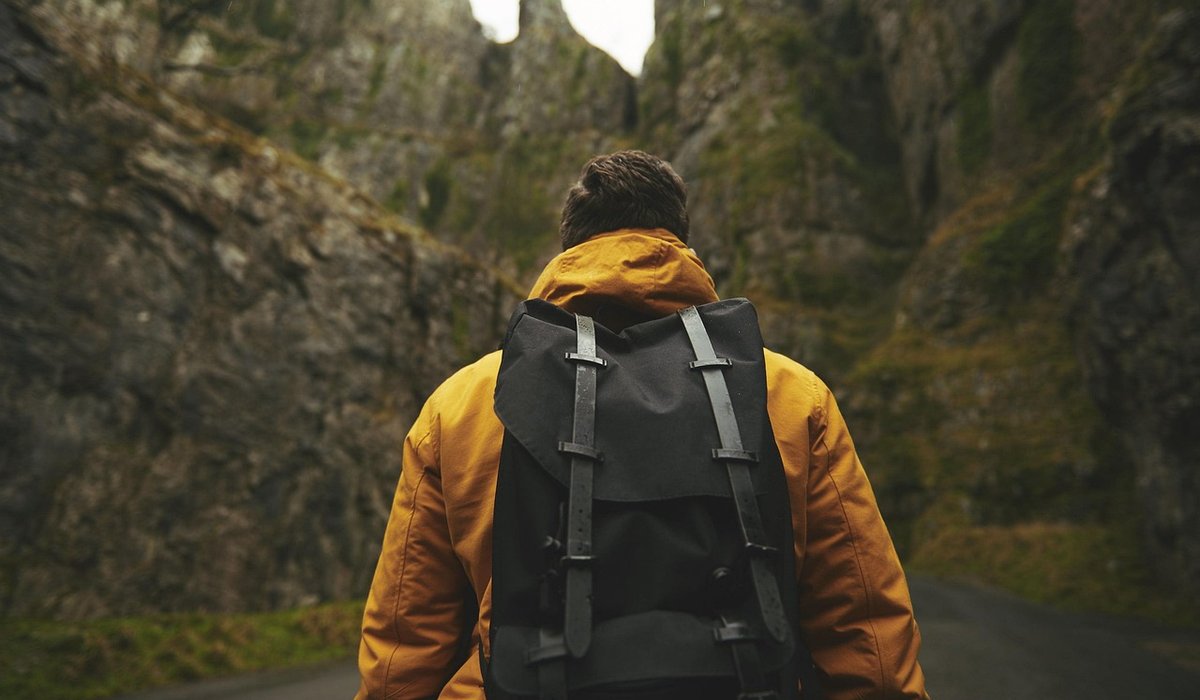
This is the single most important habit in this article, and it takes two seconds. Undo your rucksack waist belt and your sternum strap before you enter the water. A buckled pack becomes a weight that pins you face-down and fills with water; unbuckled, you can shrug out of it and let it go. A rucksack is replaceable.
Some walkers prefer to carry the pack on one shoulder, or take it off entirely and hold it low in one hand. That can work in shallow, gentle water, but it spoils your balance and leaves you with one useless arm. On most moorland crossings you are better off keeping the pack worn properly but unfastened, with both hands free for your poles.
Accept that your boots will fill with water. Wet boots are still better than bare feet on sharp stones and hidden rocks, so keep them on and pack dry socks for the far side.
Choose your line and your footing
Cross facing upstream but angled slightly downstream, edging sideways so the current presses against the length of your legs rather than the back of your knees. Small errors in angle are far easier to correct when you are side-on to the flow.
- Shuffle rather than step. Keep your feet low, feeling the bed with your boots instead of looking at them.
- Move one point of contact at a time — a foot, then a pole, never a foot and a pole together.
- Keep your eyes on the far bank. Your feet will find the bottom.
- Use boulders and eddies as rest points, and pause there to reset your balance.
Getting the most from your poles
Two poles effectively turn you into a tripod. Plant both tips upstream of your body, ahead of your feet, so they brace against the current and give you a third and fourth point of contact. Then move in a slow rhythm: pole, foot, pole, foot, keeping the poles slightly upstream throughout.
A single pole is still far better than nothing, held on your upstream side. Never plant a pole downstream of your feet — it will catch the flow and trip you. If you are at all nervous, slip your hands out of the wrist loops so you can drop the poles instantly.
Crossing as a group: the human chain
Three or four people working together can cross water that would defeat any of them alone. Link arms at the elbow, or grip the shoulders of the person in front, and form a line angled slightly downstream so the upstream member takes the brunt of the current.
- Put your tallest, strongest and most confident walker upstream, and your least confident in the middle.
- Move sideways as one unit, on a count or a word from the upstream leader. Never let anyone stride off alone.
- Do not cross your arms in front of each other. You need to be able to break apart instantly if someone goes down.
- Keep the chain short. Four is plenty; more becomes unwieldy and slow.
- If a member stumbles, everyone else holds firm and hauls them upright rather than letting go.
Know when to turn back
No summit justifies a risky crossing. If the water is above knee height and moving fast, if it is brown and climbing the banks, or if you can hear boulders trundling along the bed, walk away. Head upstream or downstream to hunt for a bridge, a wider braided stretch or a stalkers' path, or simply reroute. An extra hour on dry ground beats a five-minute crossing that goes badly wrong.
Once across, wring out what you can, pull on dry socks and gloves, and keep moving. Cold water strips heat from your legs fast, and a moorland wind does the rest. Eat something. If anyone starts shivering, stumbling or slurring, treat it as the beginning of hypothermia and get off the hill by the shortest safe route — that is not a crossing you want to repeat with cold hands and a tired head.
tag: Hill Skills

James Whitaker Author
Interpret wind speed, precipitation and cloud base data to decide whether a high ridge route is suitable for the day.
YOU MAY ALSO LIKE
Understanding Mountain Weather Forecasts For Hillwalkers
Aug 24
10Include waterproofs, spare warm layers, food, water, map, compass and a head torch for emergencies on shorter hill days.
read more
Packing A Day Rucksack For UK Hill Walks
Aug 19
10Spot early signs such as shivering and confusion, then shelter the casualty, replace wet clothing and warm them gradually.
read moreRidge Walks
-

ERRIC CATONA
Practise taking bearings and following compass legs to maintain accuracy when paths disappear in mist or darkness on the hill.
May 19, 2016 at 5.12 pm
Reply
ERRIC CATONA
Start with gentle elevated routes that offer dramatic views without exposed scrambling, building confidence for harder mountain days.
May 19, 2016 at 5.12 pm
Reply -
ERRIC CATONA
Break the route into manageable stages, book accommodation early and prepare for mixed weather over several days on foot.
May 19, 2016 at 5.12 pm
Reply
Hill Skills
Your email address will not be published.