
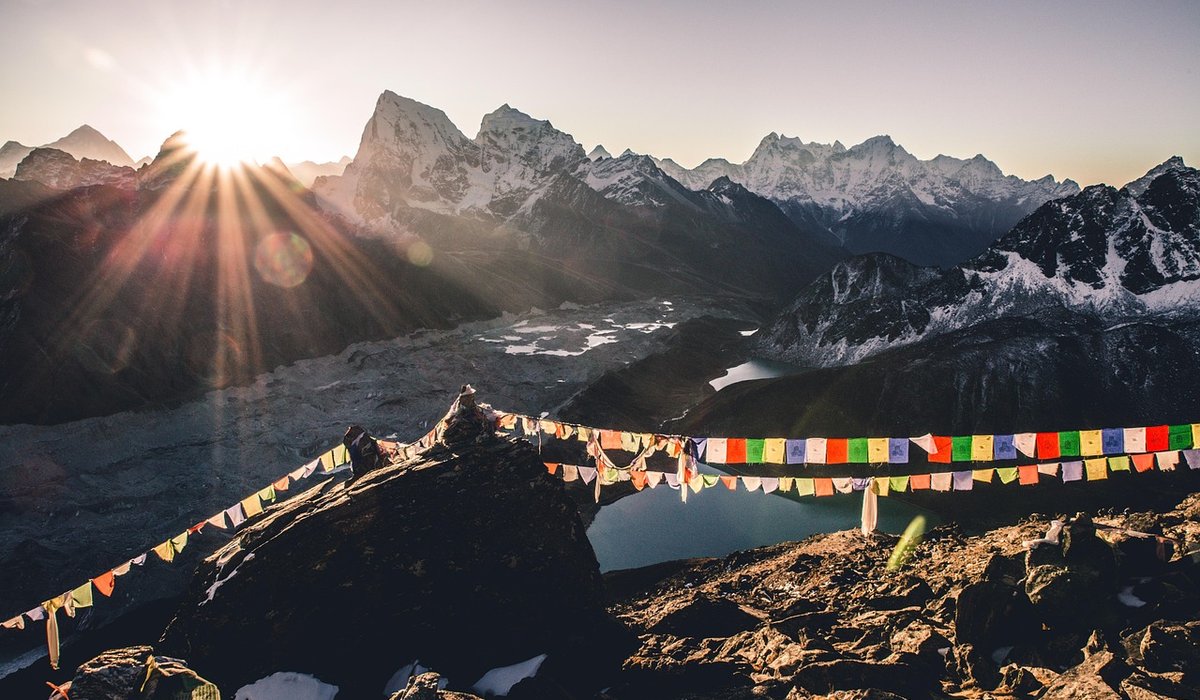
Reading Contour Lines To Identify Steep Ground
Contour lines are the most useful conversation you can have with a map before you leave the car park. They show how the land rises and falls, and when they bunch together they are warning you about steep ground, crags and the kind of ridge where a careless step has consequences. Learning to read them takes a little practice, but it pays back on every hill day.
What The Spacing Is Saying
Every contour line joins points of equal height. On most UK hill maps the interval is 10 metres, so each line represents a step of 10 metres up or down. The horizontal distance between those lines tells you how steep the slope is. Wide spacing means gentle ground; close spacing means steep ground. Lines that touch or merge usually indicate a cliff, a crag or ground that is too steep to walk.
Scale matters. On a 1:25,000 map, 1 mm on paper equals 25 metres on the ground. On a 1:50,000 map, 1 mm equals 50 metres. So the same gap on the page can mean very different gradients depending on the map you are using. Always check the scale and the contour interval before you judge a slope.
Measuring Gradient Without A Calculator
Gradient is simply rise divided by horizontal distance. If the contour interval is 10 metres and two lines are 100 metres apart on the ground, the gradient is 10 in 100, or 10 per cent — about 1 in 10. That is a steady pull. If the same two lines are only 25 metres apart, the gradient is 40 per cent — about 1 in 2.5. That is steep enough to need hands, and possibly a scramble.
- 1:25,000 map: 4 mm between 10 m contours = 100 m ground distance = 10 per cent.
- 1:25,000 map: 2 mm = 50 m = 20 per cent, a steep walk.
- 1:25,000 map: 1 mm = 25 m = 40 per cent, likely a scramble.
- 1:50,000 map: 2 mm = 100 m = 10 per cent; 1 mm = 50 m = 20 per cent.
You do not need to calculate every slope. Use the rough figures to sort ground into gentle, steep and no-go. A long section of 20 per cent or more is a warning. A short burst of 30 per cent may be a worthwhile scramble; a long one may be exhausting and exposed.
Patterns That Reveal Ridges And Gullies
Contours bend as they cross valleys and ridges. A V shape pointing uphill shows a valley, re-entrant or gully. A V pointing downhill shows a spur or ridge. On a ridge, the lines tend to run parallel on either side of the crest, bending away downhill. If those lines are close together, the ridge has steep flanks. If they are almost touching, the ridge is narrow and the drop-offs are serious.
Gullies often show as a tight V pointing uphill, with contours packed inside. They can be tempting shortcuts in descent, but they are frequently loose, wet and prone to stonefall. Broad ridges, by contrast, give you more options. Look for a crest where the contours on both sides are spaced widely enough to allow a safe retreat or bypass.
From Steep Ground To Scrambling
When contours become so close that they merge into a solid band, expect rock. The map may also show crag symbols or hachures, but the contour pattern alone is enough to tell you that a direct line is not a walk. A path crossing this ground may be a scramble, a rock step or a full climb. If the path zig-zags across the slope, it is trying to reduce the gradient; if it goes straight up the tightest contours, it may be eroded, loose or dangerously exposed.
Shape matters too. A convex slope — widely spaced contours at the top, tightly packed at the bottom — steepens as you descend. That can be awkward to reverse and easy to underestimate. A concave slope is the opposite: steep at the top, easing lower down. Both can catch you out, especially in wet or icy conditions. Read the whole slope, not just the bit near the summit.
Planning A Safer Ridge Route
Before you set off, trace your intended line and mark any section where the contours tighten. Ask yourself whether you want to walk that ground, scramble it or avoid it. For ridge routes, favour a broad crest with gentler flanks. If the ridge narrows, look for a bypass path on one side, or a lower route that contours around the steep section. A col or saddle — the low point between two tops — often gives a natural crossing and a chance to reassess.
Allow extra time for steep ground. A kilometre of 20 per cent slope will take far longer than a kilometre of gentle moorland, and a 40 per cent slope may halve your speed again. Weather changes the equation: wet grass, loose scree, snow and ice all make steep ground much more serious. Contours tell you what the ground is like; they cannot tell you what it will be like underfoot today.
If the map shows close contours, steep crags and a narrow crest, and you are not sure, choose another route. The hills will still be there. A ridge walked within your limits is a far better day out than one that pushes you into ground you cannot safely retreat from.
tag: Navigation

Eleanor Hartley Author
Build a flexible clothing system with base layers, insulation and waterproof shells to manage sweat and sudden temperature drops.
YOU MAY ALSO LIKE
Layering Clothes For Cold And Wet Ridge Walks
Sep 1
10Assess depth and flow, unbuckle your rucksack and use poles or a human chain to cross safely in spate conditions.
read more
How To Cross Rivers Safely On Moorland Hikes
Aug 26
10Interpret wind speed, precipitation and cloud base data to decide whether a high ridge route is suitable for the day.
read moreRidge Walks
-

ERRIC CATONA
Include waterproofs, spare warm layers, food, water, map, compass and a head torch for emergencies on shorter hill days.
May 19, 2016 at 5.12 pm
Reply
ERRIC CATONA
Spot early signs such as shivering and confusion, then shelter the casualty, replace wet clothing and warm them gradually.
May 19, 2016 at 5.12 pm
Reply -
ERRIC CATONA
Practise taking bearings and following compass legs to maintain accuracy when paths disappear in mist or darkness on the hill.
May 19, 2016 at 5.12 pm
Reply
Hill Skills
Your email address will not be published.